
Zencoder with ExpressPlay Tutorial
This tutorial guides you through the process of encoding content in an S3 bucket using Zencoder, then streaming that content using ExpressPlayer.
STEP 1 – Create and Set Permission for S3 Bucket
Create an S3 bucket – or use a previously created one.
Once you have set up the S3 bucket, set permissions for read and write by Zencoder. To do so, follow the instructions at Zencoder Guides – Get Started Working with S3, and the pictures below.
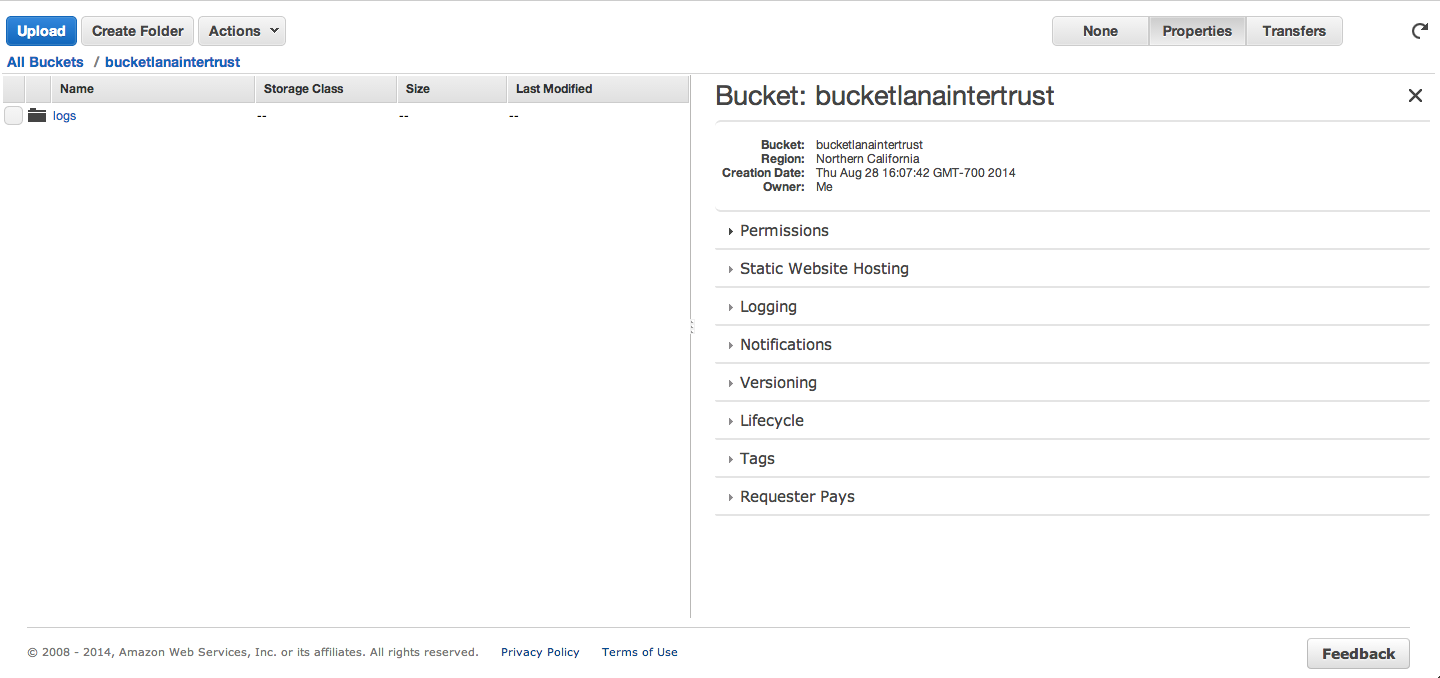
To change permissions to your S3 bucket, click the Properties button on the right hand side of the page after clicking into your bucket. Your screen should look similar to the picture below.
Click on the Add Bucket Policy link shown in the picture below under the Permissions dropdown.

You will then be presented with the following screen.

Following the instructions in the Zencoder Guide mentioned above, enter the bucket policy to allow Zencoder read and write access to your S3 bucket. You have now completed the first step to encoding with Zencoder.
STEP 2 – Upload Content to the S3 Bucket
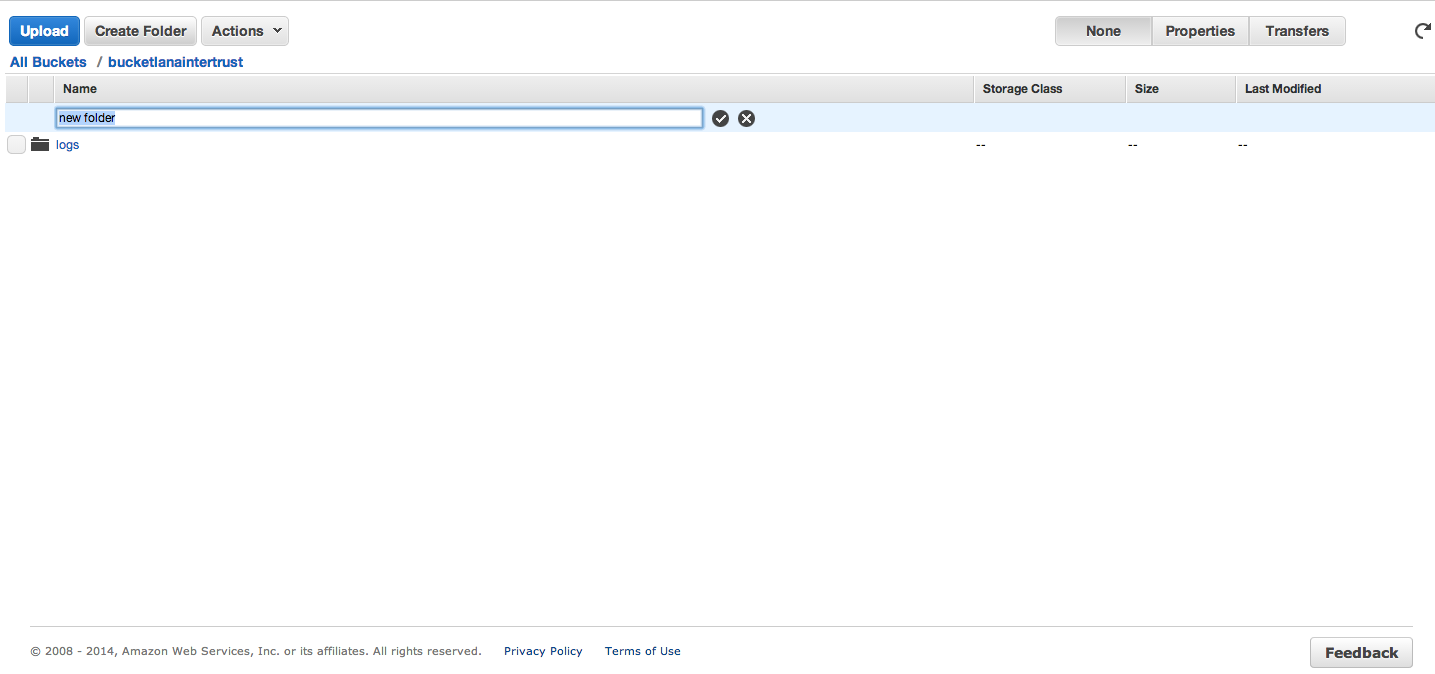
Create a new test folder for the purpose of this tutorial.
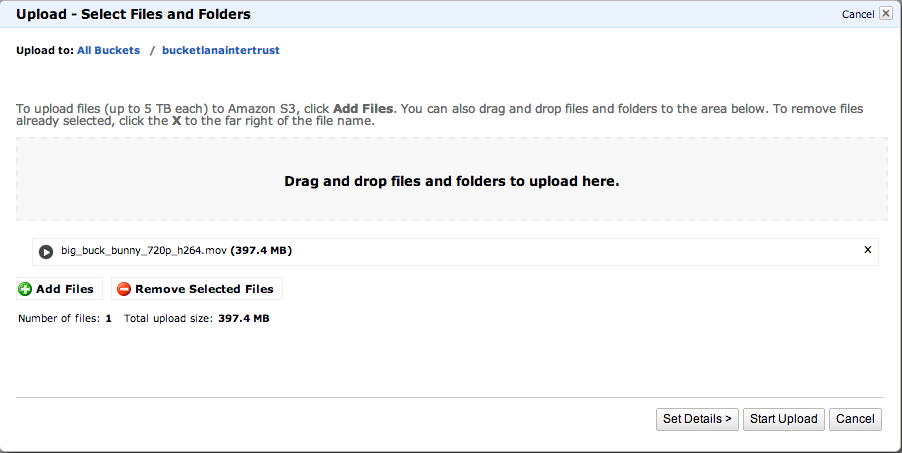
Click into the folder you created, and click the Upload button at the top of the page. The following screen will appear. For this example we will be using .mov files, so drag and drop the contents that you would like to upload to your S3 bucket as directed
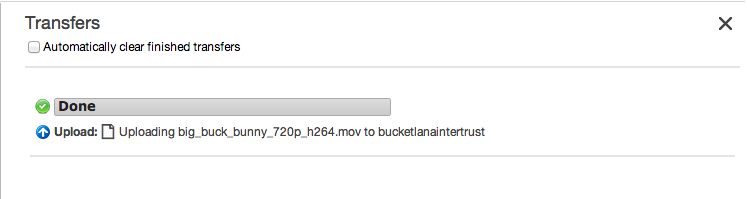
Once you have finished your upload, you will get the following screen as proof of transfer.
STEP 3 – Generate Content ID and Key for Asset
ExpressPlay requires that each media have two identifiers: a Content ID and an Encryption Key.
The following are an example of such keys.
content ID = 3c26e840d9958554bf69df7a1491828c
key = 1234567890abcdef1234567890abcdef
To create this key use a random number generator, or create one yourself. The content id and encryption key are necessary in the following steps, so keep them handy.
Note: The DRM key and id must be specified as 32 hexadecimal characters (with optional dashes), such as ‘1234567890abcdef1234567890abcdef’ or ‘12345678-90ab-cdef-1234-567890abcdef’
Create and Start the Zencoder Job
Before you create the Zencoder job, go to your Zencoder account and make sure that under credentials you have added your S3 bucket to the list.
Now, copy and paste the following into a file. Replace YOUR_BUCKET_NAME, YOUR_FOLDER_NAME, YOUR_KEY_ID, YOUR_CONTENT_KEY, with the appropriate strings.
{

"input": "s3://YOUR_BUCKET_NAME/YOUR_FOLDER_NAME/big_buck_bunny_720p_h264.mov",

"outputs": [

{

"public": true,

"label": "dash-1200",

"streaming_delivery_format": "dash",

"video_bitrate": 1200,

"type": "segmented",

"url": "s3://YOUR_BUCKET_NAME/YOUR_FOLDER_NAME/output/bbb/1200k/rendition.mpd",

"drm": {

"method": "cenc",

"key_id": "YOUR_KEY_ID",

"content_key": "YOUR_CONTENT_KEY"

}

},

{

"public": true,

"label": "dash-1800",

"streaming_delivery_format": "dash",

"video_bitrate": 1800,

"type": "segmented",

"url": "s3://YOUR_BUCKET_NAME/YOUR_FOLDER_NAME/output/bbb/1800k/rendition.mpd",

"drm": {

"method": "cenc",

"key_id": "YOUR_KEY_ID",

"content_key": "YOUR_CONTENT_KEY"

}

},

{

"public": true,

"streaming_delivery_format": "dash",

"type": "playlist",

"url": "s3://YOUR_BUCKET_NAME/YOUR_FOLDER_NAME/output/bbb/manifest.mpd",

"streams": [

{

"source": "dash-1200",

"path": "1200k"

},

{

"source": "dash-1800",

"path": "1800k"

}

],

"drm": {

"method": "cenc",

"key_id": YOUR_KEY_ID,

"content_key": YOUR_CONTENT_KEY,

"schemas": [

{

"type": "marlin"

}

]

}

}

]

}
In this example cURL will be used to execute commands, however, other options are available. Copy and paste the following into your terminal.
curl --header "Zencoder-Api-Key: YOUR_API_KEY" --data @FILE_NAME

https://app.zencoder.com/api/v2/jobs | python -m json.tool
Replace YOUR_API_KEY with the All Access Key under the API tab at the Zencoder site. Replace FILE_NAME with the name of the file you copied the created job into.
Note: This call will most likely give you an error saying that your account does not have the drm feature. Just follow the instructions and email [email protected].
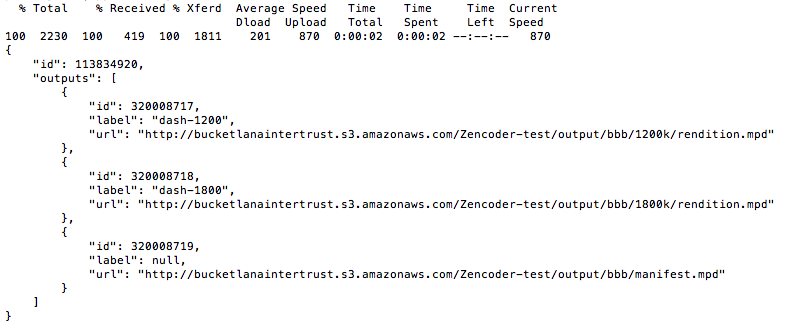
The following is an example of the output you will receive upon starting the job.
To check on the status of the call, enter the following into your terminal.
curl https://app.zencoder.com/api/v2/outputs/ITEM_ID/progress.json?api_key=YOUR_API_KEY | python -m json.toolid field you see in the response to the first call.
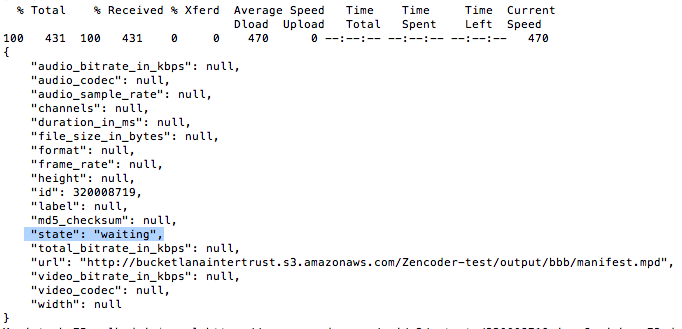
The following image is an example of the response you will receive. As you can see, you will see information about the file, as well as the state of the file.
This will eventually tell you if the call has succeeded or failed, giving you an error message for the latter
STEP 5 – Get URL for Master Manifest
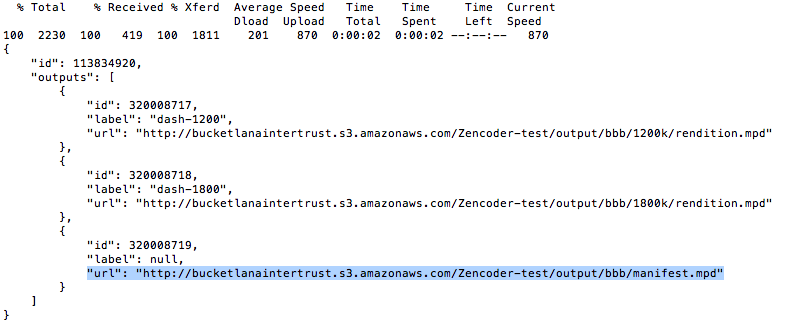
When the job successfully finishes, you can find the URL for the manifest.mpd file. This URL is found in the original output from the first call made to start the job. The image below highlights the URL to get.
Do a cURL call to that URL to pull down the manifest.mpd file. Information from it will be used in the next step.
Note: If you did not include “public”: true for all output files in your Zencoder job, this call may not work. Re-create the Zencoder job and start over.
STEP 6 – Get MS3 Token
In the manifest.mpd file you pulled down you will find a contentId. You will need this to get the MS3 token. The image below shows you how the contentId looks.

Note: The format of the contentId is urn:marlin:kid:ZENCODER_CONTENT_KEY
Copy and paste the following call into your terminal. Replace YOUR_EXPRESSPLAY_TEST_CUSTOMER_AUTHENTICATOR with the test customer authenticator for your account. Replace YOUR_MANIFEST_CONTENT_ID with the marlin kid you found in the manifest.mpd. Replace YOUR_CONTENT_KEY with the key you created for Zencoder. Replace YOUR_CONTENT_URL with the URL to your manifest.mpd file.
curl 'https://ms3-gen.test.expressplay.com/hms/ms3/token?customerAuthenticator=YOUR_EXPRESSPLAY_TEST_CUSTOMER_AUTHENTICATOR&contentId=YOUR_MANIFEST_CONTENT_ID&contentKey=YOUR_CONTENT_KEY&contentURL=YOUR_CONTENT_URL'You will get a response back that is similar to the one below.
https://ms3.eval.hostedmarlin.com:8443/hms/ms3/rights/?b=ABIAAwAAB60ACHByYWN0aWNlAfAAEAY62zyWVF4uZQxQqtE-Ds4AcGAWLuFR7f0Qzo3osjK7s_sgugSvZyzVRV7CqfxesvqumKY8feViY5U8ZR1AIZX8oyGuaNKeZ4XE5njEwyO4fgOLUQZTzeBser1MaIFZQBtsOv6VT_DHuqlkS01fUJpneO4nLZLUx7GWSXriAo4kz34AAAAU7eDg7OAh93l8h7cfizx7sMWdZrc#http%3A%2F%2Fbucketlanaintertrust.s3.amazonaws.com%2FZencoder-test%2Foutput%2Fbbb%2Fmanifest.mpd
STEP 7 – Play the Response in your ExpressPlay player (App Store, SDK build, etc)
Take the response URL you received from the above step and use it in the ExpressPlayer app. You can find this app in the PlayStore on Android devices and in the App Store on iOS devices. For Select a content format choose DASH. And for Select a token format choose Marlin MS3. Click the Play button and your video should play.
Note: The response URL can also be used in the Example application for MS3 tokens. Just replace the ms3_url string with the response. And make sure that the type is set to MediaSourceType.DASH.
Note: To abide by the Content Provider’s robustness rules, the ExpressPlay SDK limits the resolution of the content that can be displayed to 520K. On MacOS/Windows it will attempt to downscale, on iOS/Android it will refuse to playback content with higher resolution. Adding the following request parameters to the ExpressPlay Service MS3 license request: “&extensionType=wudo&extensionCriticalFlag=false&extensionPayload=AAAAAA==” will solve the problem.